
So you want to be a panoramic photographer? You’re probably here because you want to start shooting professional quality 360 photos to create virtual tours. Lots of businesses are realising the benefits of having a virtual tour for boosting customer interest, especially when using Google Business Street View. A potential customer is much more likely to go to a restaurant if they’ve already seen what it looks like on the inside using a virtual tour. Google’s own research indicates that virtual tours are far more likely to convince potential customers than just standard photos alone.
There is ample opportunity to become a successful virtual tour photographer no matter where you are in the world, but first you need to know what equipment you need, how to shoot virtual tours and how to edit them. I’m going to explain clearly and simply how to do each of these over three separate articles and after you’ve completed this series, you should be all set to start shooting high quality 360 photos.
What equipment do you need to shoot 360 photos for virtual tours ?
You may have noticed that over the past year or so that many 360 cameras have been released. These are often cheap and easy to use, an example is the Samsung Gear 360 or the Ricoh Theta S. What you need to know right away is that these cameras are not good enough to create 360 professional tours or virtual tours for paying clients. These cameras use low quality sensors which will not be able to create the type of high quality image we are after.
What you are going to need if you want to be taken seriously as a 360 photographer is the following:
A DSLR Camera
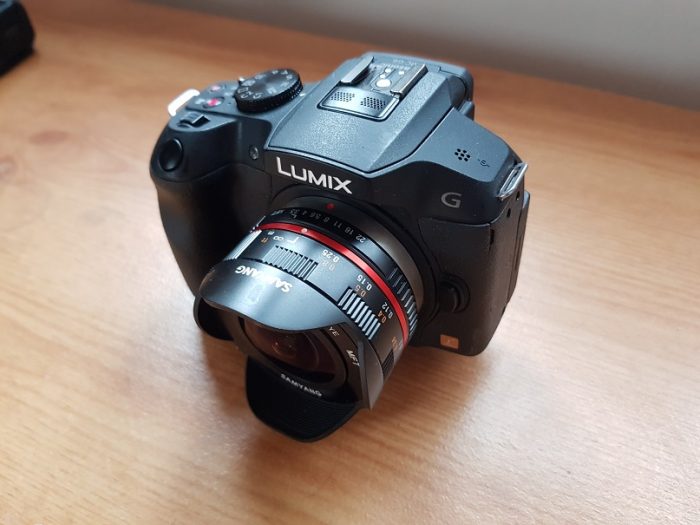
The most basic requirement is that you have a DSLR camera with removable lenses. The quality of the camera isn’t actually very important and you don’t need to get the latest and greatest device from Nikon or Canon. Even a DSLR that’s 3 or 4 years old is likely to be sufficient, just make sure it is compatible with a large number of lenses and that is has a bracketing feature. Bracketing is where the camera takes 3 images one after the other, one is over exposed, one have normal exposure and one is underexposed. Just use google to see if the DSLR you are thinking of buying has this feature.
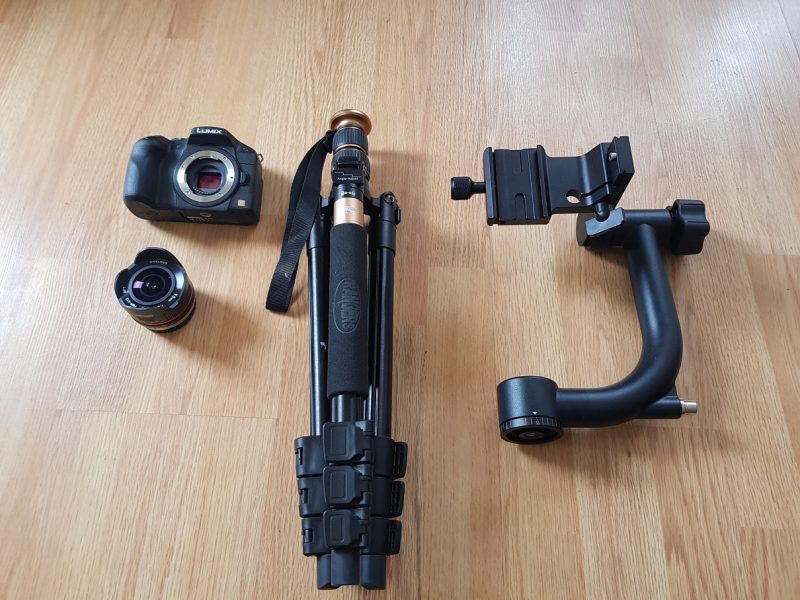
What I use: I use a Panasonic G6 Micro 4/3 camera. It’s not particularly expensive and has all the features required, i.e. bracketing and compatibility with many lenses.
A Fish Eye Lens
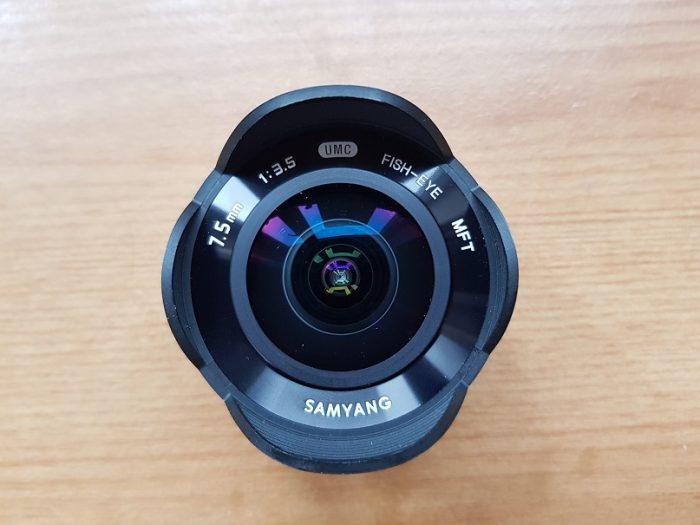
This is probably the most important investment you’ll make in your quest to become a 360 virtual tour photographer. A fish eye lens is required to shoot your virtual tour because it captures images at a wide angle, meaning you only need to shoot between 5-8 individual images to capture the full 360°. If you were to use any other type of lens the number of shots you would need to take would be unmanageable.
So your lens needs to be a fish eye, but other than that what should you look for? Depending on your budget there are a huge number of fish eye lenses to choose from. First you’ll need to see which ones are compatible with your DSLR, then decide what your budget is. Check reviews and see examples of images taken with the lens, if the results are good then go for it.
What I use: I have two options. For those on a budget, the SAMYANG 8 mm f/3.5 Fish Eye Lens is probably the best value for money. I’ve had amazing results with this lens and it’s one of the cheapest around. It’s manual only, but you won’t be using any automatic features when shooting 360 panoramas so this doesn’t really matter. This lens is compatible with all Micro 3/4 lenses.
For a more expensive but higher quality option you could go for the Nikon NIKKOR 16mm f/2.8D Fish Eye Lens. It performs amazingly well both indoor and outdoor and the sharpness is second to none. Be aware that this lens is only compatible with Nikon cameras.
Panoramic Tripod Head
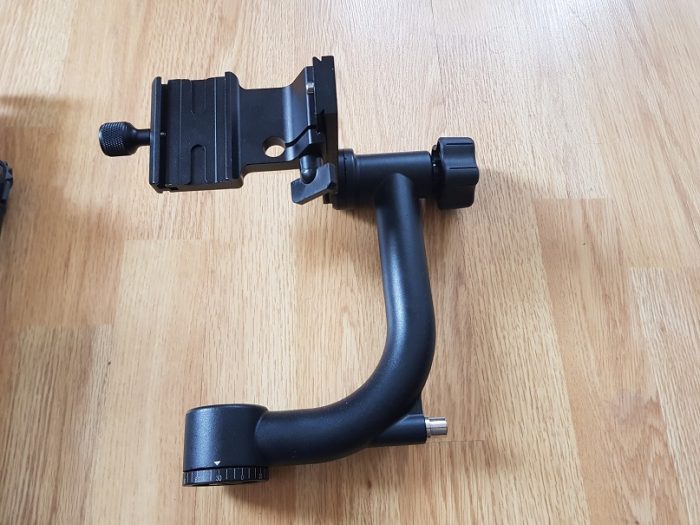
This device is what allows you to take accurate 360 photos. A panoramic tripod head essentially lets you to move your camera accurately in order to capture the full 360 degrees required to create a panoramic image. It’s almost impossible to take a good 360 photo without using one of these tripod heads and it makes stitching the images together so much easier.
Panoramic tripod heads are designed with the intent purpose of creating 360 panoramic images, so just do a search for this term and you’ll see that there are quite a large number available.
What I use: I actually use one of the cheaper types of panoramic head. There are very expensive automatic and mechanical ones that will offer a greater degree of accuracy, but if you have a steady hand this may not be necessary. I use the Neewer Professional Heavy Duty Metal 360 degree Panoramic Gimbal Tripod Head, which is a manually controlled tripod head which covers the full 360 degrees as well as the nadir and zenith (above and below the camera). I’ll show you exactly how to use the tripod head in my guide to shooting professional 360 photos.
A Sturdy Tripod
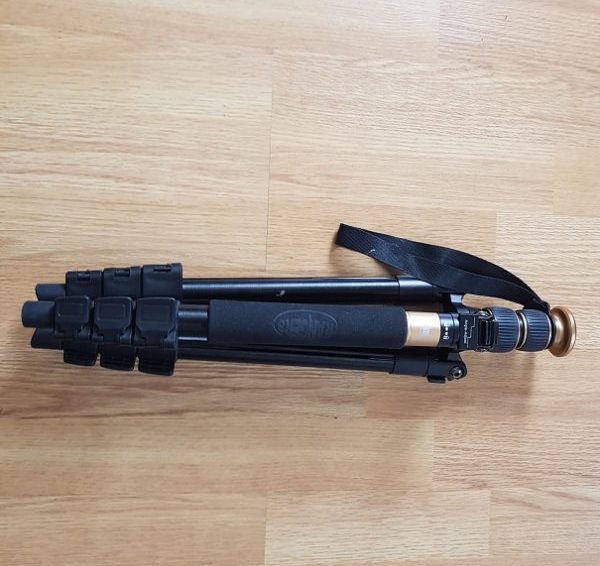
You may already have a tripod, but is it going to be strong enough to handle the combined weight of a DSLR camera and a tripod head? Many tripod may fail to remain balances with this amount of weight applied to them, especially cheaper tripods. It’s very important that your tripod remains stable throughout the shooting process, or your final image will have some serious stitching errors that may not be fixable. I recommend investing in a tripod that has a capacity of at least 10kg, a height of around 1.4m and crafted out of metal, not just plastic.
What I use: I use a Rangers 57″ Classic Aluminum Tripod which has a max capacity of 12kg. It’s made from aluminium and has lockable legs, which I’ve found to be very useful in keeping the tripod stable. The tripod can hold the weight of the camera and tripod head without moving or tilting and its compact and foldable. There are so many tripod variation out there, just be sure to not get a cheap one for the sake of saving a small amount of money, it won’t be worth it in the end.
PTGUI Software
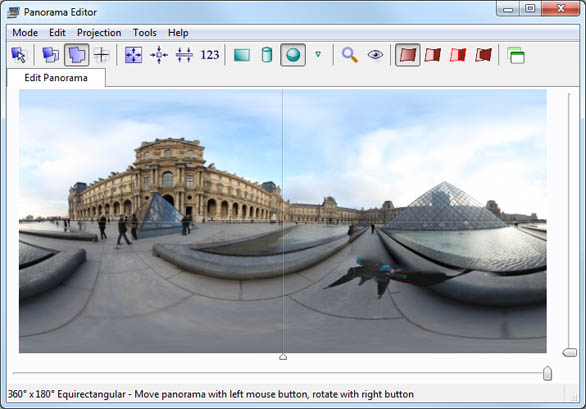
The last investment you’ll need to make is in software that will allow you to create your final 360 images, and I highly recommend PTGUI. PTGUI is well known in the industry as a leader in image stitching technology, the software allows you to upload your 8-10 images and automatically stitch them together to create a full 360 image. The final result isn’t always accurate, but the software allows you to manually add control points to ensure an accurate, error free image. This is the easiest programme to use for stitching your final 360 image together and is well worth the investment.
https://www.ptgui.com/download.html
This is everything you’ll need to set yourself up as a serious panoramic photographer. With this equipment you can begin to shoot professional 360 tours for businesses and clients, who will expect very high quality images. You don’t necessarily have the get the most expensive version of everything, the cheaper options will do just fine, but as you gain more clients it would probably be a good idea to re-invest in better equipment to improve your overall results.

Recent Comments